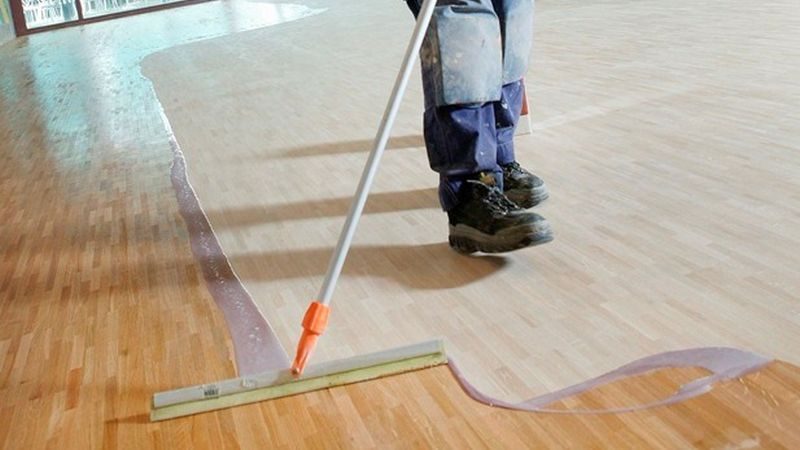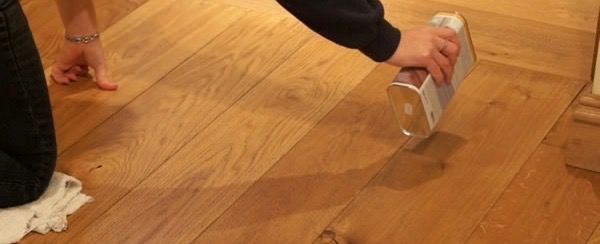
Flooring with oiled finish is a perfect wood flooring type for the lovers of a natural and warm look. The oil finish guarantees that the true character of the wood can be admired without any shine. If you need oil finish for high-traffic areas, a hardwearing option will be perfect. As oil strengthens the wood, such finish is great for anyone who’s trying to retain and enhance the natural character of the wood, at the same time focusing on durability. Oiled finish can be applied both in the case of solid and engineered wood flooring. It is suitable for all areas around the house.
A crucial thing to bear in mind if you’ve opted for oiled finish wood flooring is to keep the finish of a wood floor in proper condition. Remember to oil it on a regular basis and minimise the risk of scratches, chips or scrapes. You need to protect the coating of the floor and you can do it for instance by thoroughly and regularly cleaning it and by getting a high quality doormat. Don’t forget that dust and grit can cause damage to the wood flooring with oil finish, because they act as an abrasive, damaging the oil coating and leave the wood floor exposed. That is why a high quality doormat will be a real ally of the oil finish of your floor, as it will contribute to getting rid of the dust and grime before it is carried into your home, scratching or damaging the floor. But if it’s too late for taking preventive measures and your oiled floor has already been scratched, read the article about how to repair scratches on oiled floors.

As far as cleaning is concerned, you need to remember to regularly vacuum an oiled wood floor and thoroughly wipe it with a damp cloth or a mop from time to time in order to keep it looking good. Oiled flooring needs to be re-sanded and re-finished from time to time. How often? It depends on the amount of traffic in the given interior, wear and tear as well as maintenance.
If you’ve noticed that the floor is damaged and needs a complete re-vamp, follow our advice and you’ll go through the process really fast and without unnecessary fuss.
First, you will need to clear the given interior, making sure you remove all the furnishings, so as to prevent them from getting dirty or damaged, as sanding produces a lot of dirt and dust. When removing the furniture be careful and watch out not to drag it, as this can damage your floor.
When the room is empty, ensure there are no nails or staples standing out of the floor. Then get down to sanding it. If you’ve chosen to do it on your own, remember this is a messy task and you will need to hire a drum and an edge sander, if you want to get a good result. Choose sandpaper – both heavy (e.g. 40) and fine (e.g. 120) grit. Get down to sanding, using the heaviest grit and re-sand the floor, using sandpaper of a finer grit every time. The same rule applies to the edges if you’re also working with an edging sander. Once you’re done with sanding, use a vacuum cleaner to remove the dust accumulated on the floor, particularly between the gaps in the boards.
Last but not least, remember to wait long enough after you’re done with sanding, before getting down to oiling the floor. The aim is to ensure that any airborne dust has settled on the floor and has been removed before you start applying the oil.
| Mon-Fri | 8:00AM – 5:00PM |
| Saturday | 10:00AM – 4:00PM |
| Sunday | 11:00AM – 3:00PM |


.svg)
.svg)