Apart from many other things you need to take into consideration when fitting a new floor, which we’ve already mentioned numerous times in our previous articles, you also need to decide on the direction in which to fit the floor. Having said that, remember that if you are fitting a new wooden floor over an existing one, you’re not left with much choice – the original floor will determine the direction in which you should lay your new floor. A crucial thing in this situation is that the new boards need to be laid at 90 degrees to the old ones. But, if you’re not laying the new floor over an existing one, then, no matter which direction you decide to chose, we differentiate between three major methods of installation. Those include:
Nail down or stapling
This is the most traditional wood floor fitting method. Nailing down frequently involves “secret nailing”, which means that nails are put through the tongue of the floorboards and then covered with the groove of the next board. In the case of stapled wood floor installation, we use staples which replace the nails, and this significantly speeds up the entire process.

Floating floor
A floating installation method is used when the floorboards are neither nailed nor glued to the sub-floor. In the case of this fitting technique, glue can be used between the tongue and the groove of the boards.
If you’re installing a floor in residential premises, you can use this method to fit a new floor over an existing one (but, remember about the 90-degree rule mentioned above) after using the right underlay, or over a sub-floor. In the latter case, you can fit the boards in the direction of your choice.
This installation method is usually not recommended in the case of solid wood flooring, except where both the floorboards and the room itself are quite small.

Gluing the floor
This is probably one of the most popular floor installation techniques used nowadays, regardless of the direction for laying your wooden flooring you’ve selected. The first stage in gluing a wooden floor consists in coating the sub-floor with flexible wood adhesive. Then, you need to put the boards directly on top.
This type of floor installation makes a floor feel very solid, just like a nailed floor, and makes it possible for the boards to expand and contract, depending on the ambient conditions. This is possible, because the gluing product is flexible. Additionally, if the floor is installed over under-floor heating, this installation technique helps you avoid the creation of air pockets.
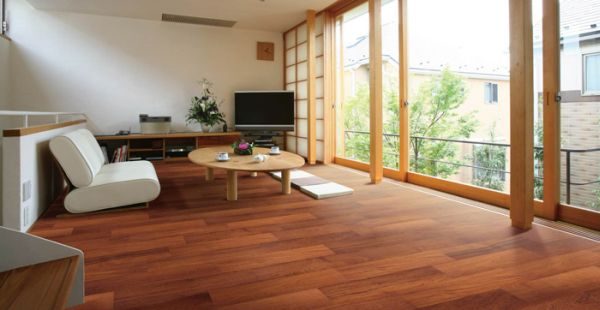
So, there you go, we’ve gone through all the major installation methods and some useful tips on the floorboards direction. Having selected the fitting method, you will need to decide in which direction the wood floor should be laid. Our advice is that it’s usually best to lay the floor lengthwise towards the source of light, for instance the light coming into the room from a door or a window. By fitting the floor in this direction, you’ll ensure that the boards look best and, additionally, make the room look bigger.
| Mon-Fri | 8:00AM – 5:00PM |
| Saturday | 10:00AM – 4:00PM |
| Sunday | 11:00AM – 3:00PM |


.svg)
.svg)