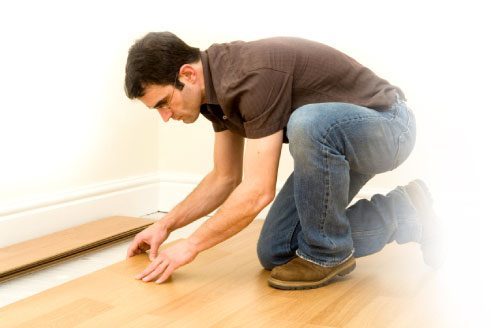
If you are considering buying some wood flooring and you think you’re up to installing it yourself we might be able to help. Fitting your own flooring can save you money and installing new flooring can vastly improve the look of your home. Provided you know what you are doing of course!
With this is mind we have created a step by step guide to easy wood floor installation…
Assess your Sub-floor and Choose your Installation Method
The type of wood flooring you choose and the way you install it will depend on the type of sub-floor in your property. This is the base floor that will sit beneath your wood flooring. There are three common types of sub-flooring:
1) Concrete/cement/stone
If you have a concrete, cement or stone sub-floor you can use solid wood flooring or engineered wood flooring. Solid wood can either be nailed down onto battens or glued down to your sub-floor. Engineered flooring can be glued down or installed to float.
2) Plywood/chipboard
If your sub-floor is plywood or chipboard you can use solid wood flooring, nailed down or glued down. Alternatively you can float or glue down engineered flooring.
3) Particle board
Again with particle board you have the choice of solid or engineered wood flooring. If you opt for solid wood flooring it must be glued down. Engineered flooring can be glued down or floated.
Under-floor Heating
If you have under-floor heating you should choose engineered wood flooring over solid wood. This is because it is more durable and able to cope with extremes in temperature. This type of flooring can float or be glued down over under-floor heating.
Choose your Flooring and Installation Method
Once you know the type of sub-floor in your property you can choose your material and installation method from those mentioned. For more information on the characteristics and benefits of solid wood and engineered wood flooring, take a look at this recent post. You are now ready to buy your flooring and start installation.
Install
Let’s get down to business and get that flooring down. Here are the methods you will need to either glue down, nail down or float your wood flooring:
Glued down flooring
This kind of installation is very secure and requires just your sections of flooring and a suitable adhesive. Your flooring retailer will be able to recommend a bonding agent, which should be applied to your sub-floor. Then simply lay your wood flooring. If you have a concrete sub-floor you should lay a two part damp-proof epoxy membrane to prevent damp from rising. Allow your floor as long as possible before walking on it so that the adhesive can take effect.
Floating flooring
Floating installation is the easiest DIY flooring method, which is great news if you are a novice. First you need to put down an underlay to act as a moisture barrier and as insulation. Then apply PVA glue to fit the tongue and groove parts together as you lay your flooring. Repeat until your floor is laid.
Nailed down flooring
If you have a wooden sub-floor this is an ideal way to securely fit new wood flooring. Nailing down flooring can be time consuming and hard work but it is very effective and straightforward. If you have floorboards already your new flooring should be nailed down with the planks going in the other direction, across the existing boards. If you have a plywood sub-floor this doesn’t matter. To save time it might be worth investing in or hiring a nail gun, especially if you are installing wood floors in a large space. Another tip is to use a poly foam underlay to hold flooring securely in place and to prevent squeaking floorboards.
If you would like to find out more about wood flooring materials, installation and how to make the most of your property, get in touch today. The ESB sales team is always happy to help.
| Mon-Fri | 8:00AM – 5:00PM |
| Saturday | 10:00AM – 4:00PM |
| Sunday | 11:00AM – 3:00PM |


.svg)
.svg)