

By applying oiled finish, you give your wood flooring a natural and warm look. Moreover, it helps show the real character of the wood, stressing it without adding shine. This is a hardwearing option, which it owes to the strength the oil brings to the wood. Therefore, this type of finish is a great choice for everyone who wants to keep their wooden floor looking natural and stress its good looks, at the same time going for high durability. This type of finish can be picked both in the case of solid and engineered flooring. So, you will most certainly find a suitable oil finish for your flooring project, regardless of where the floor is to be laid.
Keep the floor in good condition
Once you’ve chosen oiled finish wood flooring, you will need to keep the coating of the flooring in good condition through oiling it on a regular basis and reducing the risk of any scratches, scrapes and chips. In order to help protect the coating of the floor, you should follow a thorough and regular cleaning regime as well as get yourself a high-quality doormat. In this way you’ll prevent any dust and grit from getting onto the floor and damaging it, as they act as an abrasive, removing the protective layer of the oil coating and leaving the wood floor exposed to damage. Therefore, a quality doormat is a good solution, as it helps you get rid of as much of the outdoor dust and grime as possible before it scratches or damages the floor. And if your wooden flooring has already been scratched or damaged in any other way, read our article on repairing scratches on oiled floors – you’ll find a solution to your problem there.
Regular cleaning
As far as cleaning is concerned, in the case of a well-oiled wood flooring you only need to vacuum it on a regular basis. After vacuuming it, you just need to use a damp mop to clean it and keep it looking great. You have probably also wondered when a complete revamp (re-sanding and re-finishing) is required and how often it should be done. In fact it will depend on the traffic, wear and tear as well as the maintenance regime you have followed.
Once you’ve decided your oiled wood flooring requires a complete re-vamp, you will need to do the following: first, clear the room, by removing all the furniture and all other items, as sanding is a messy and dusty process. When removing your furniture, watch out not to drag it across the floor, as in this way you can cause even more damage to the flooring. If you’ve emptied the room, ensure that no nails or staples are protruding from the floor.
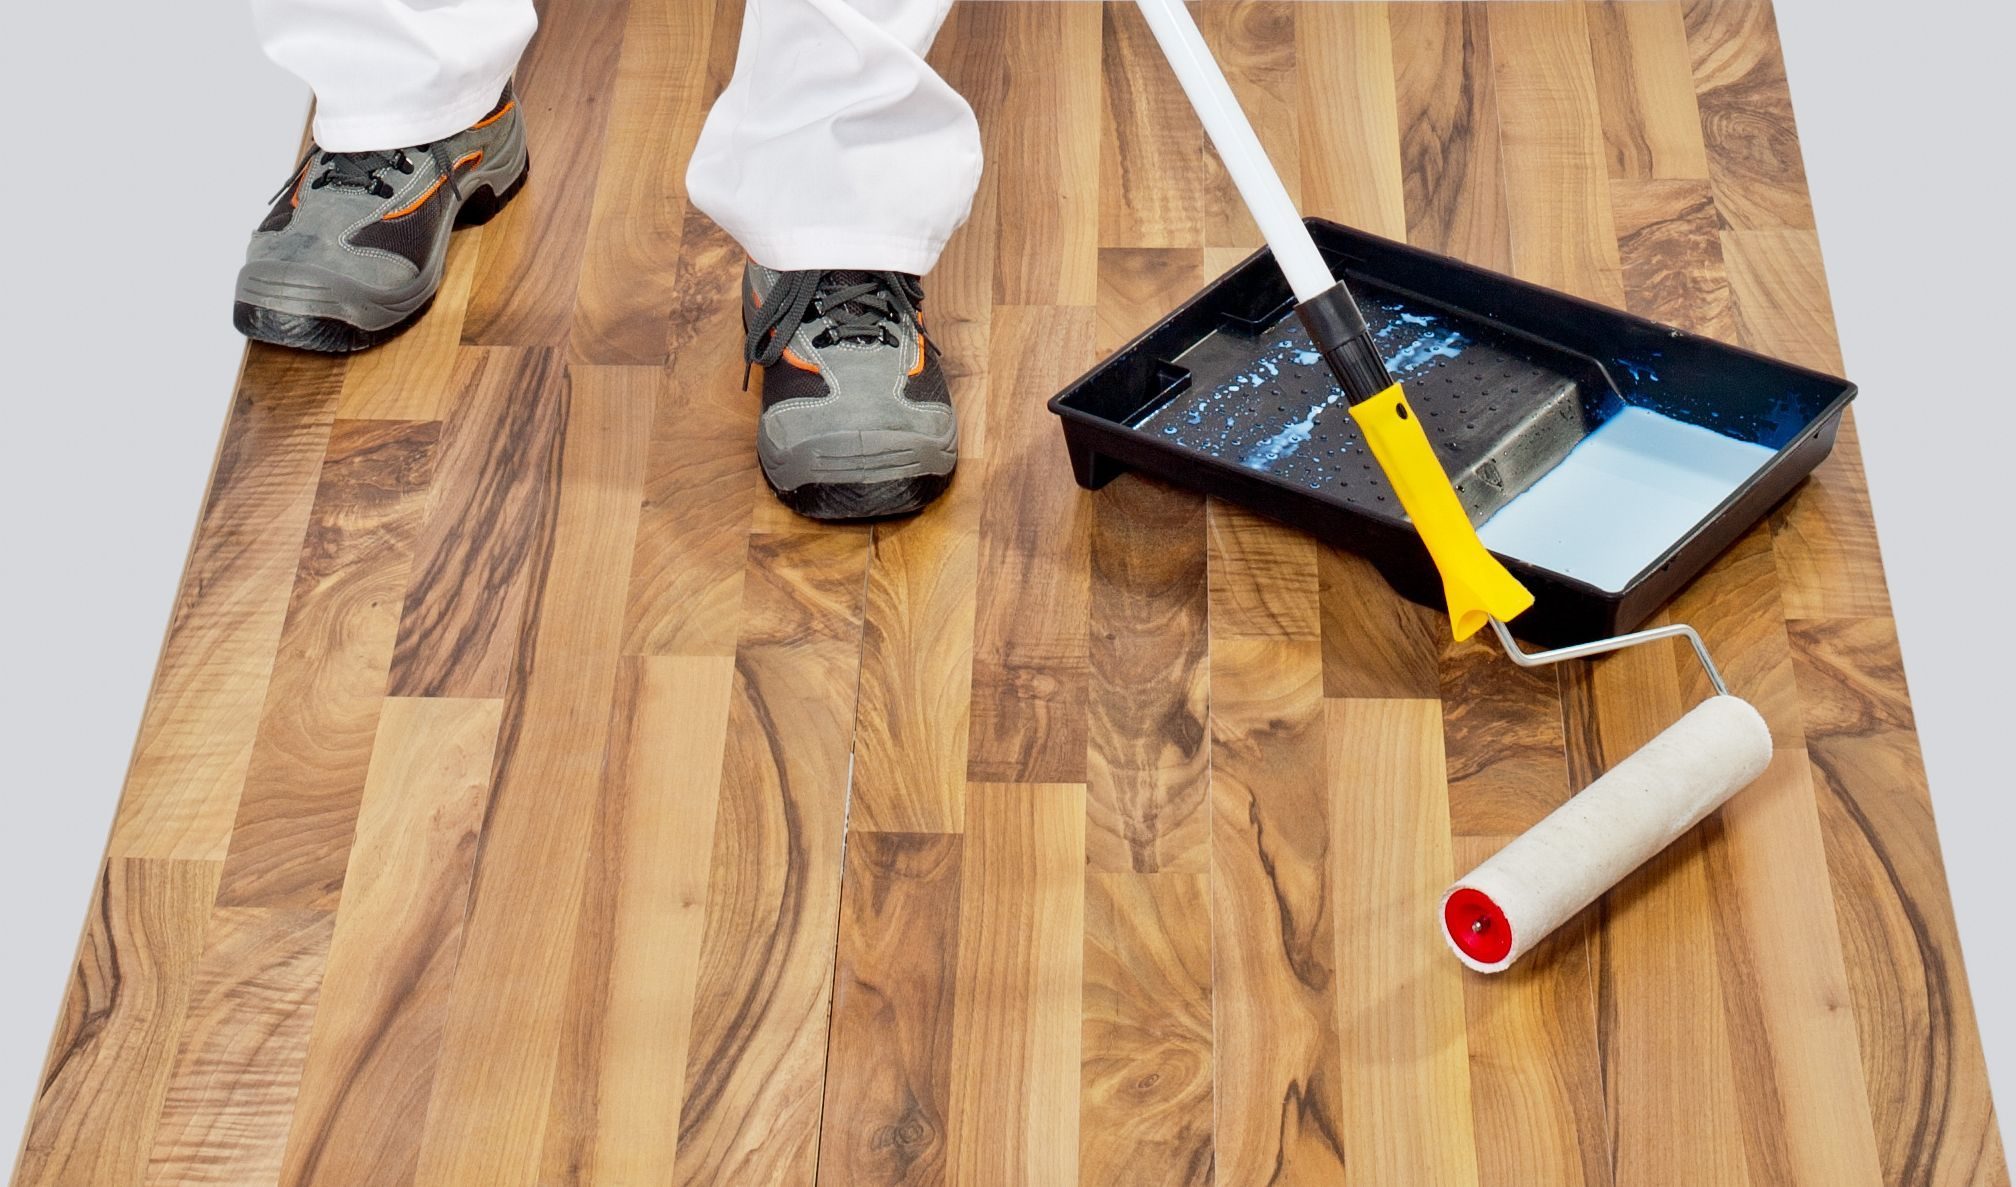
Sanding the floor
Now, sand the flooring. If you’re planning on doing it yourself, remember that it can be a messy process and you will require both a drum and an edge sander to achieve a good result. You will need various grit sandpaper, from 40 grit through to fine, e.g. 120 grit. Start sanding, using the heaviest grit and then re-sand the floor, using a finer grit every time. This applies to the edges as well if you’re using an edging sander.
Once you’ve finished sanding, use a vacuum cleaner to remove all the dust from the floor, especially in any gaps between the boards. Remember to wait long enough between sanding and oiling, so as to ensure that any dust has settled on the floor and has been removed before you moved on to the next stage.


.svg)
| Mon-Fri | 8:00AM – 5:00PM |
| Saturday | 10:00AM – 4:00PM |
| Sunday | 11:00AM – 3:00PM |
.svg)