If you’re going to restore a wood floor, you need to take into account several really important things. In this article, we will outline the most important aspects of restoring wood floors. Read on to learn how to do it in a straightforward and effective way, without missing out on any factor that may be crucial for a great final result.
Preparation
Firstly, put a lot of effort into the preparation for the task, as that will help you achieve a great end result. Secondly, plan beforehand to ensure you’ve got sufficient time for the job. It will probably require more time than you expect.
When restoring a wood floor, you need to take several steps. Those include: preparation, sanding, staining (if that’s what you’re planning to do) and, finally, finishing.
When preparing your floor for restoration, remove all the furniture, curtains, carpets and accessories. Take out anything that can be removed from the given interior. In the case of heavy pieces of furniture, such as cupboards, always lift them, instead of dragging them across the floor, which can cause damage.

If you’ve cleared the room of anything that could be removed, make sure that there are no protruding nails or staples on the floor’s surface. You will need to remove them or hammer them into the floor. If you fail to do so, they’ll cause serious problems during the sanding process. Additionally, that’s a perfect opportunity to fix loose boards. Also, you should look for deep stains that will require a bit more aggressive sanding as compared to the remaining floor’s surface.
Sanding the floor
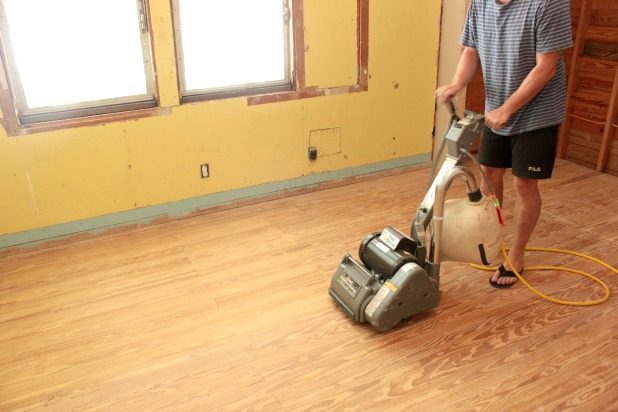
Then, get down to sanding. Undoubtedly, the easiest method of restoring a wood floor is to hire a floor sander. If possible, you should hire two types of sander (a drum sander and an edge sander). If you want to achieve a perfect final result, you should really hire both. Each of these sanders requires different sandpaper – the hire company should provide it. Remember to ensure you have both a coarse and a fine sandpaper. At first sanding needs to be done with the heavy grit paper and when you finish sanding should be done with finer paper. While working with such devices, always pay attention to the manual as well as health and safety rules provided by the hiring company. When sanding the floor, you will notice any holes, deep scratches or chips that you will later need to fill or repair.

Staining
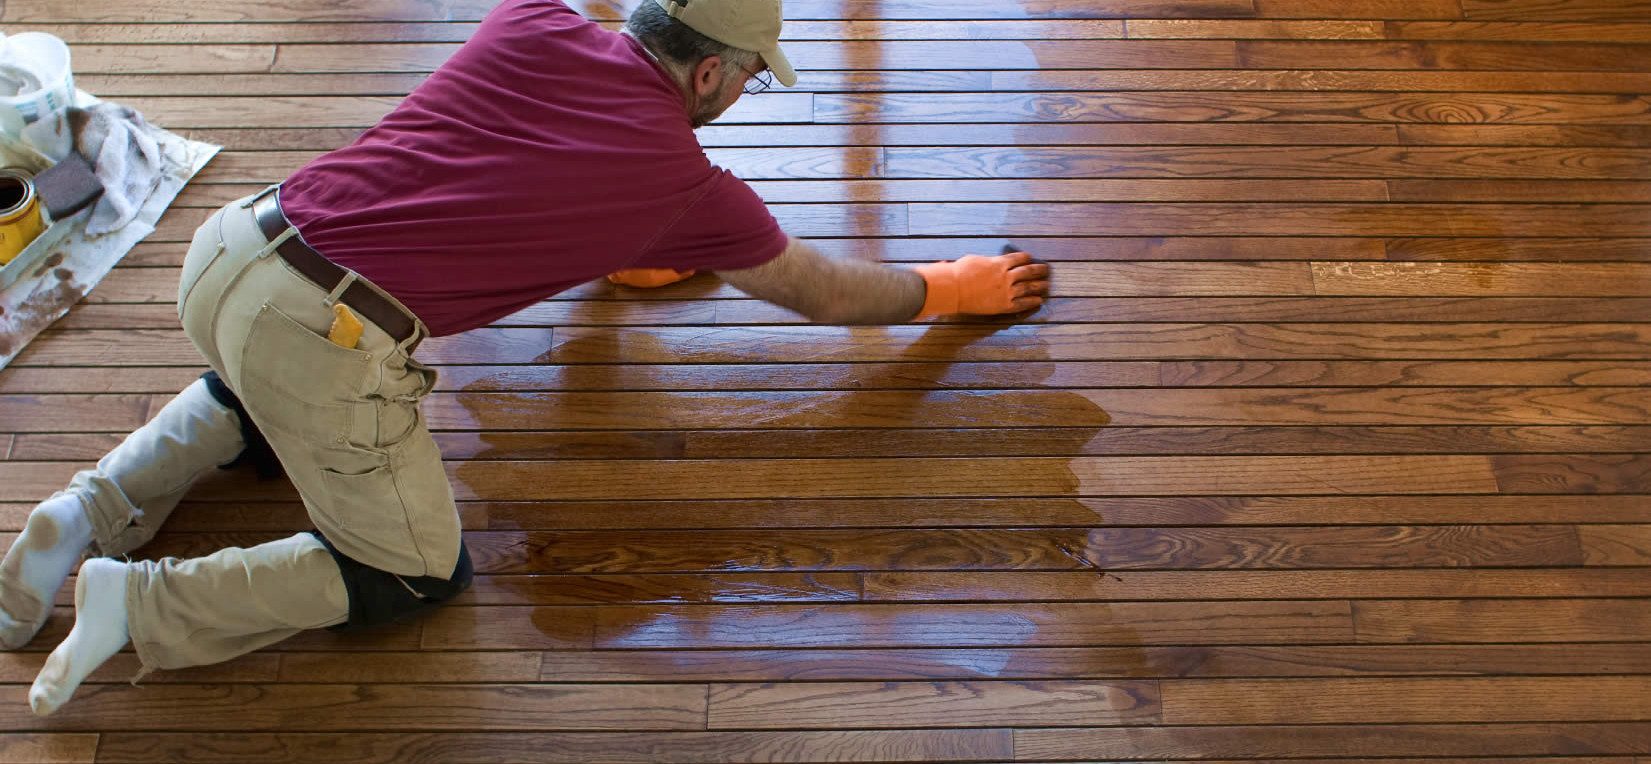
You may want to stain the floor, but it’s an option rather than a must. However, if you choose to stain the flooring, this is the right time to do it. For a good end result, you need to work in full widths of the room, starting with painting the stain and finish through wiping it with the use of a soft and dry cloth.
Finishing
No matter whether you decide to stain the floor, a crucial step in restoring wood floor is finishing. Having chosen the finish, you will need to start applying it to the perimeter of the given interior and work inwards and towards the exit of the room, which will reduce the risk of stepping on the area which has just been treated. This process may require the application of up to 3 layers – but this will depend on the type of the finish you’ve bought. It’s recommended to carry out light sanding between applying individual layers. Then, ensure the finish has dried, before bringing in the furniture. For details related to the drying time see the manufacturer’s instructions.
| Mon-Fri | 8:00AM – 5:00PM |
| Saturday | 10:00AM – 4:00PM |
| Sunday | 11:00AM – 3:00PM |


.svg)
.svg)