Among numerous installation options, fitting a hardwood floor to existing or original floorboards is usually one of the easiest and most effective ones. However, you need to pay attention to certain details to do it right and be fully satisfied with the final result. Bear in mind that existing or original floorboards, which are frequently made of softwood, are very likely to have shrunk, bowed or cupped, and thus the surface is uneven. If this is the case with your floor, think about a screed or a plywood or chipboard sub-floor, which will considerably improve the stability of the new floor.

Usually, the fact that the existing or original floor is irregular shouldn’t be a serious issue if you’ve chosen a hardwood floor whose thickness is at least 18 mm. In such a case, it will usually be easy to fix the new floor directly to the old planks.
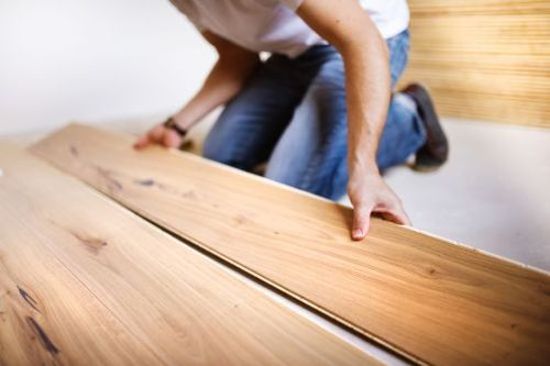
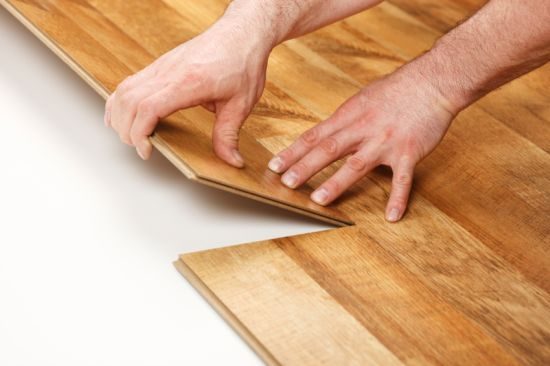
As you probably know from our articles, there are in general three main fitting methods for hardwood flooring. Those are gluing, floating and nailing. When fitting a hardwood floor to existing or original floorboards, the best method is secret nailing, in which nails are put through the tongue of the planks. Then, the nails are covered when the groove is butted up to the secured board.
When you’re about to install your new floor, always remember to ensure that the new boards are fitted at 90 degrees to the existing planks, as this will make the floor more stable.

Nevertheless, it may sometimes be the case that the existing or original floorboards are not suitable as a base for the new flooring. If you’re uncertain or you don’t want to lay your boards perpendicularly to your existing floor, think about fitting plywood or chipboard base, which will constitute a stable sub-floor for your new flooring project.
| Mon-Fri | 8:00AM – 5:00PM |
| Saturday | 10:00AM – 4:00PM |
| Sunday | 11:00AM – 3:00PM |


.svg)
.svg)