It’s almost impossible to imagine a home being warm and cosy without wood flooring. The fastest way to get new wood flooring under your feet is to install it using “floating floor” method. This type of installation doesn’t require nailing down (like in the case of solid flooring), instead boards are either snapped or glued together. Read the first part of this blog.
Installing the first plank

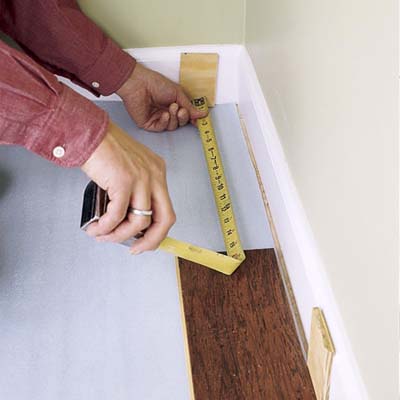
Lay down the first plank with its grooved end in the corner against a spacer block. Also place spacers along the starting wall. As you set the flooring, always keep the tongues facing out and cut ends against a wall.
To fill in the pieces in the first course, place a spacer against the wall, and measure from it to the last plank installed.
Mark this measurement on a new plank, starting at the grooved end so it will mate with the tongue of the last plank. Cut the plank to length.
Apply glue to the end groove of the new piece, and install.
Slip a pry bar between the end of the plank and the spacer and lever the joint together. Then push the piece down in place. Remove excess glue with a damp cloth.
Installing the rest of the floor

Start each course with the piece of flooring left over from the previous cut (cut end to the wall), as long as it is more than 8 inches in length. This will keep the joints staggered. Remember to place spacers against side walls before you put down a plank.
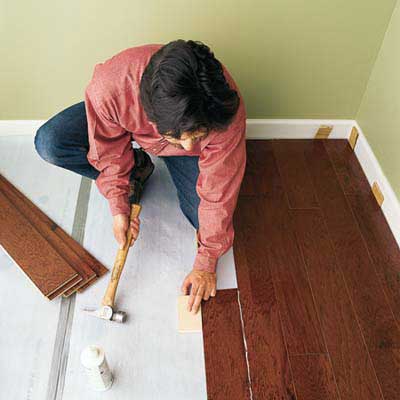
Squeeze glue into the groove of the plank in one continuous bead, then slide it up against the previous row. Set a wood block against the outside of the plank, and tap it with a hammer to bring the planks tightly together.
Measure from the plank to the end of the row and finish the course as detailed above. Continue installing planks in this manner, one course at a time. Every four to six courses use blue painter’s tape to keep the joints tight while the glue cures.
Installing the final course

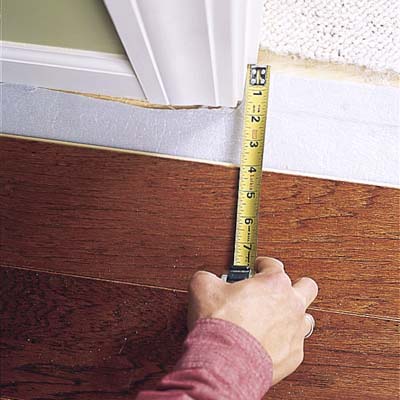
When you reach the final line measure the width that is needed for the last plank. Remember to account for the expansion gap – measure to a spacer located against the wall. The board that runs across a door will have to be notched to fit inside the doorway. To get its width, measure to the closer edge of the doorstop moulding. Once the measure is taken cut the board to width and cut the doorway notches using the jigsaw. Use a fine-tooth wood blade to trim the plank so it reaches the doorstop and fits underneath the casing.
Installing this final course requires patience. Remove the spacers on the last wall and use the pry bar to fit that course tight against the last course installed. Allow glue to cure for 10-15 hours and then remove the spacers and painter’s tape.
Transition
Trim the doorstops on either side of the doorway to the height of the transition moulding. Then cut a piece of transition to feet between the doorjambs.
Set the transition on the subfloor. Overlap the flooring on one of the sides leaving 1.5cm gap against the floating floor. Drill 3-4 wholes along its centre to prevent transition bar from splitting then fix it on to the subfloor (not the flooring).
Now measure the walls for scotia moulding and try to complete each wall with one single length.
Mitre the two pieces for inside corners and cut mitres for outside ones too. Place moulding tightly against the floor and fasten it to the baseboard with the nails.
If you would like to find out more about wood flooring materials, installation and how to make the most of your property, get in touch today. The ESB sales team is always happy to help.
| Mon-Fri | 8:00AM – 5:00PM |
| Saturday | 10:00AM – 4:00PM |
| Sunday | 11:00AM – 3:00PM |


.svg)
.svg)