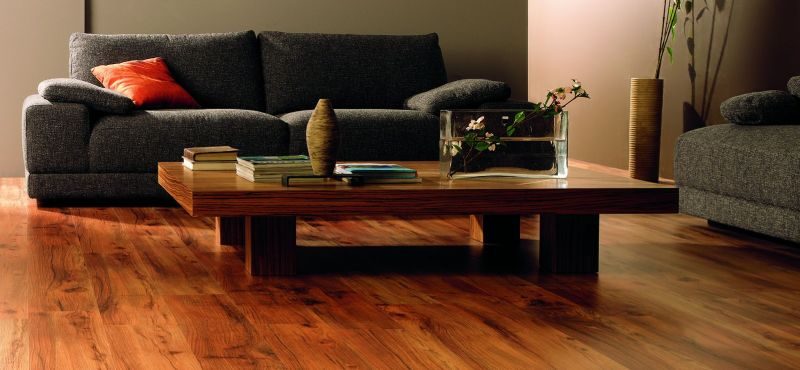
It’s almost impossible to imagine a home being warm and cosy without wood flooring. The fastest way to get new wood flooring under your feet is to install it using “floating floor” method. This type of installation doesn’t require nailing down (like in the case of solid flooring), instead boards are either snapped or glued together.
Boards can be laid down quite fast, over any material: concrete, vinyl, ceramic tiles or plywood.
Among several flooring materials for “floating floor” installation the first choice should be engineered flooring. Especially if you are after real wood.
This engineered wood flooring, that in fact is a deck of wood veneer glued to strips of plywood is very stable and looks like solid wood. It’s factory applied coating is more durable that one applied on solid wood at your home and will be ready for furniture within one day. All you need to remember is that engineered planks can’t be sanded as many times a solid wood can.
Overview
Engineered flooring goes down over a thin foam sheet, which provides cushioning and sound-dampening. The planks glue together to create a floor that “floats” — moves freely — as a unit. You need to leave a 1cm gap between the baseboard (or wall) and the flooring around the perimeter of the room.
This will allow enough space for floor to expand. In most cases, you can install the flooring without removing existing baseboard, concealing the expansion gap with scotia moulding. The other option is to remove the baseboard, install the floor and reinstall baseboard afterwards. No matter which option you choose remember that you need to nail the moulding to the wall, not to the floor.
Now you need to decide which direction to lay the flooring. Running the planks parallel with the longest wall usually looks best. Then measure the width of the room (subtract 1.5 cm to account for the expansion gap on both sides) and divide by the width of the flooring you’ve chosen to calculate how many courses of planks will be needed. Chances are you’ll need to rip, or trim lengthwise, the last course to fit.
If your calculation results in a final course that’s at least 4cm wide, then the first course should be a full-width plank. But if the last course is narrower, rip the first course down to ensure the last course will have a pleasing width.
Trim the door casings

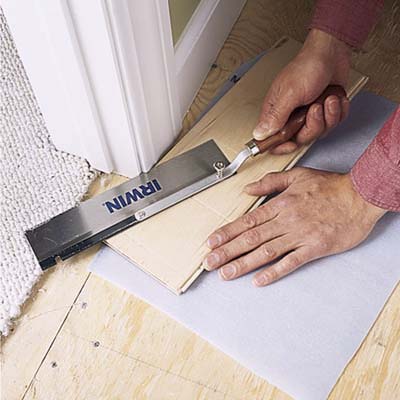
Use a flush-cut dovetail saw to trim the bottom of the casing at all doorways so that the flooring will slide underneath. Gauge the height of the cut by laying down a piece of foam underlayment and a piece of flooring (upside down so the saw won’t scratch the finish). Then hold the saw flat against the plank and carefully make the cut.
Underlayment

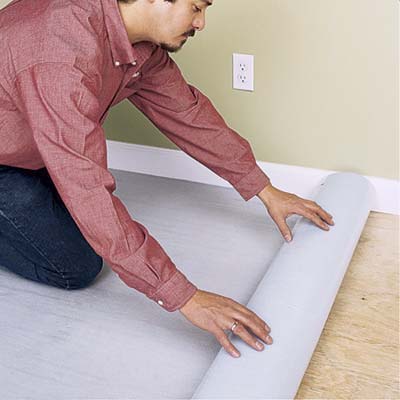
Vacuum the room, then unroll the foam underlayment. Cover the entire room with a single layer, trimming it to fit with a utility knife and butting the seams together. Seal the seams with duct tape.
If you would like to find out more about wood flooring materials, installation and how to make the most of your property, get in touch today. The ESB sales team is always happy to help.
| Mon-Fri | 8:00AM – 5:00PM |
| Saturday | 10:00AM – 4:00PM |
| Sunday | 11:00AM – 3:00PM |


.svg)
.svg)